

Greetings readers! It has been 4 month of me being a full time mom; and yes, I love it, and yes, my daughter is the smartest and cutest thing around – BUT I also missed blogging, so I will take it slowly and try posting new recipes here and there now that I am back in the kitchen!
Today I present to you a typical Israeli/Arab street food – we buy it in bakeries and eat it on the go which is a huge problem afterwards because you will always have some Za’atar stuck between your teeth…
I recently received a fresh supply of Za’atar from my friend Lisa who visited the old city of Jerusalem. So fresh that the whole kitchen was filled with the aromatic smell when I transferred the Za’atar into a jar.

I made my Mini Za’atar Bombs of course because it is super easy to make, but today, this morning, this grey and cold morning (WINTER IS HERE!) all I wanted was a pita with Za’atar!
Please don’t let the title confuse you, we are not talking about a REAL pita with a pocket that you can stuff in things- we are talking about a flatter version of it, covered with Za’atar, olive oil, and lemon.
Before we start just a short warning, yes, it is dough, and it is a bit of work – but it is SO worth it.
Trust me!
Dough ingredients for 8 big pitas:
- 500 gr regular flour / plus more for dusting
- One bag of dry yeast
- A tbsp brown sugar
- A pinch of salt
- 500 ml water / or a bit less

Directions:
- Mix all ingredients and knead well for at least 10 minutes
- Dough should be flexible and light and smooth – meaning, you might need a bit more water if it’s too dry OR a bit more flour if it’s too sticky – I recommend adding the water gradually
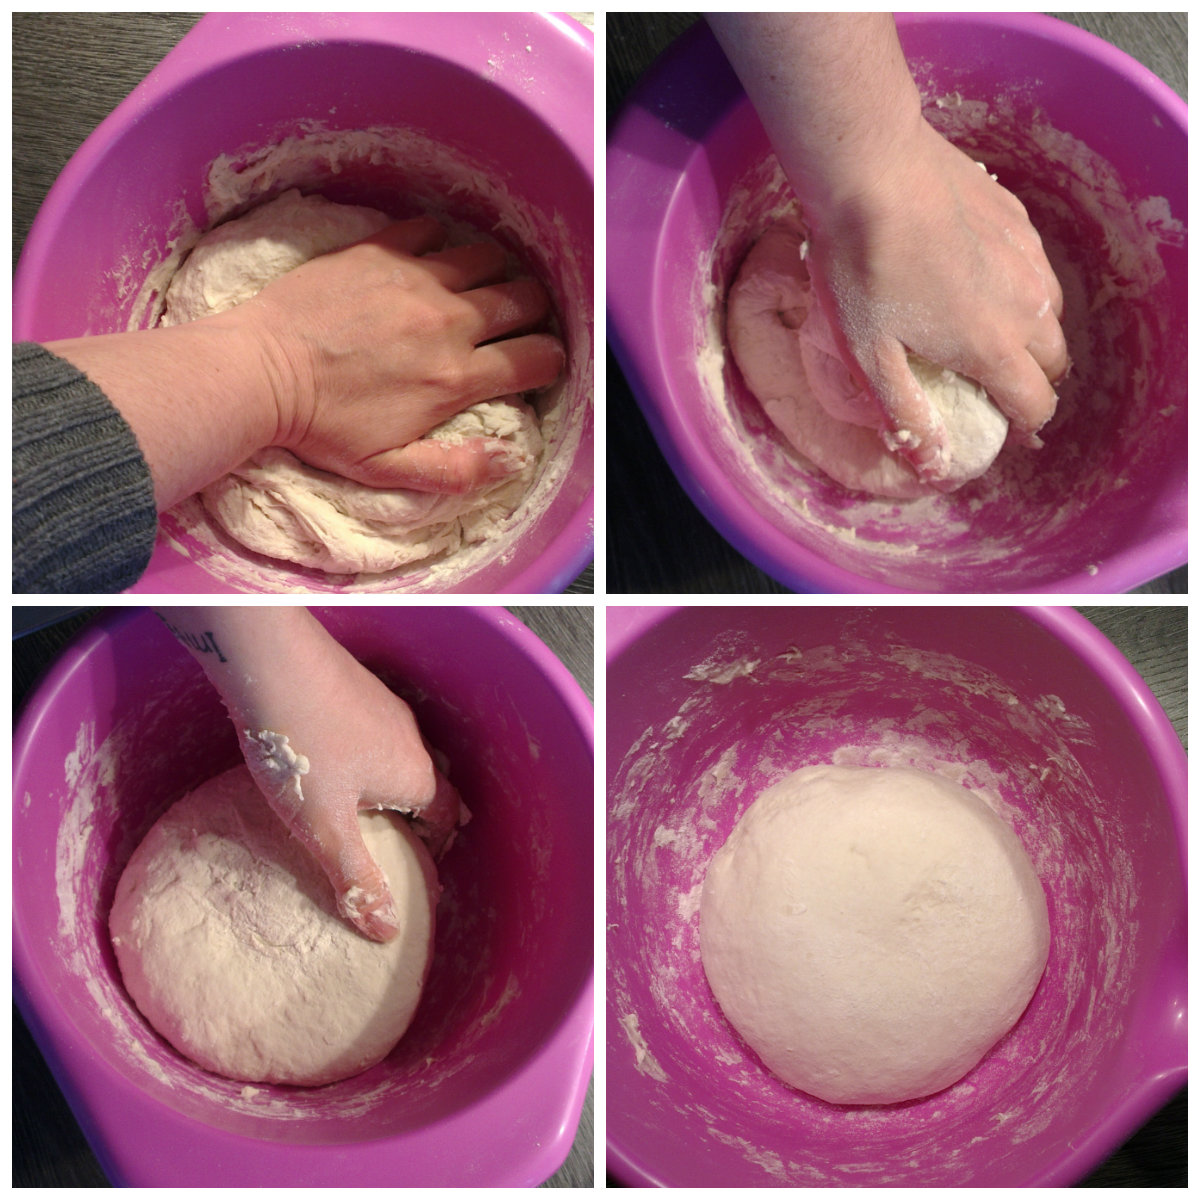
- Let dough rise covered, in a dark place (I always put the bowl in the oven) for 50 minutes – it should double its size
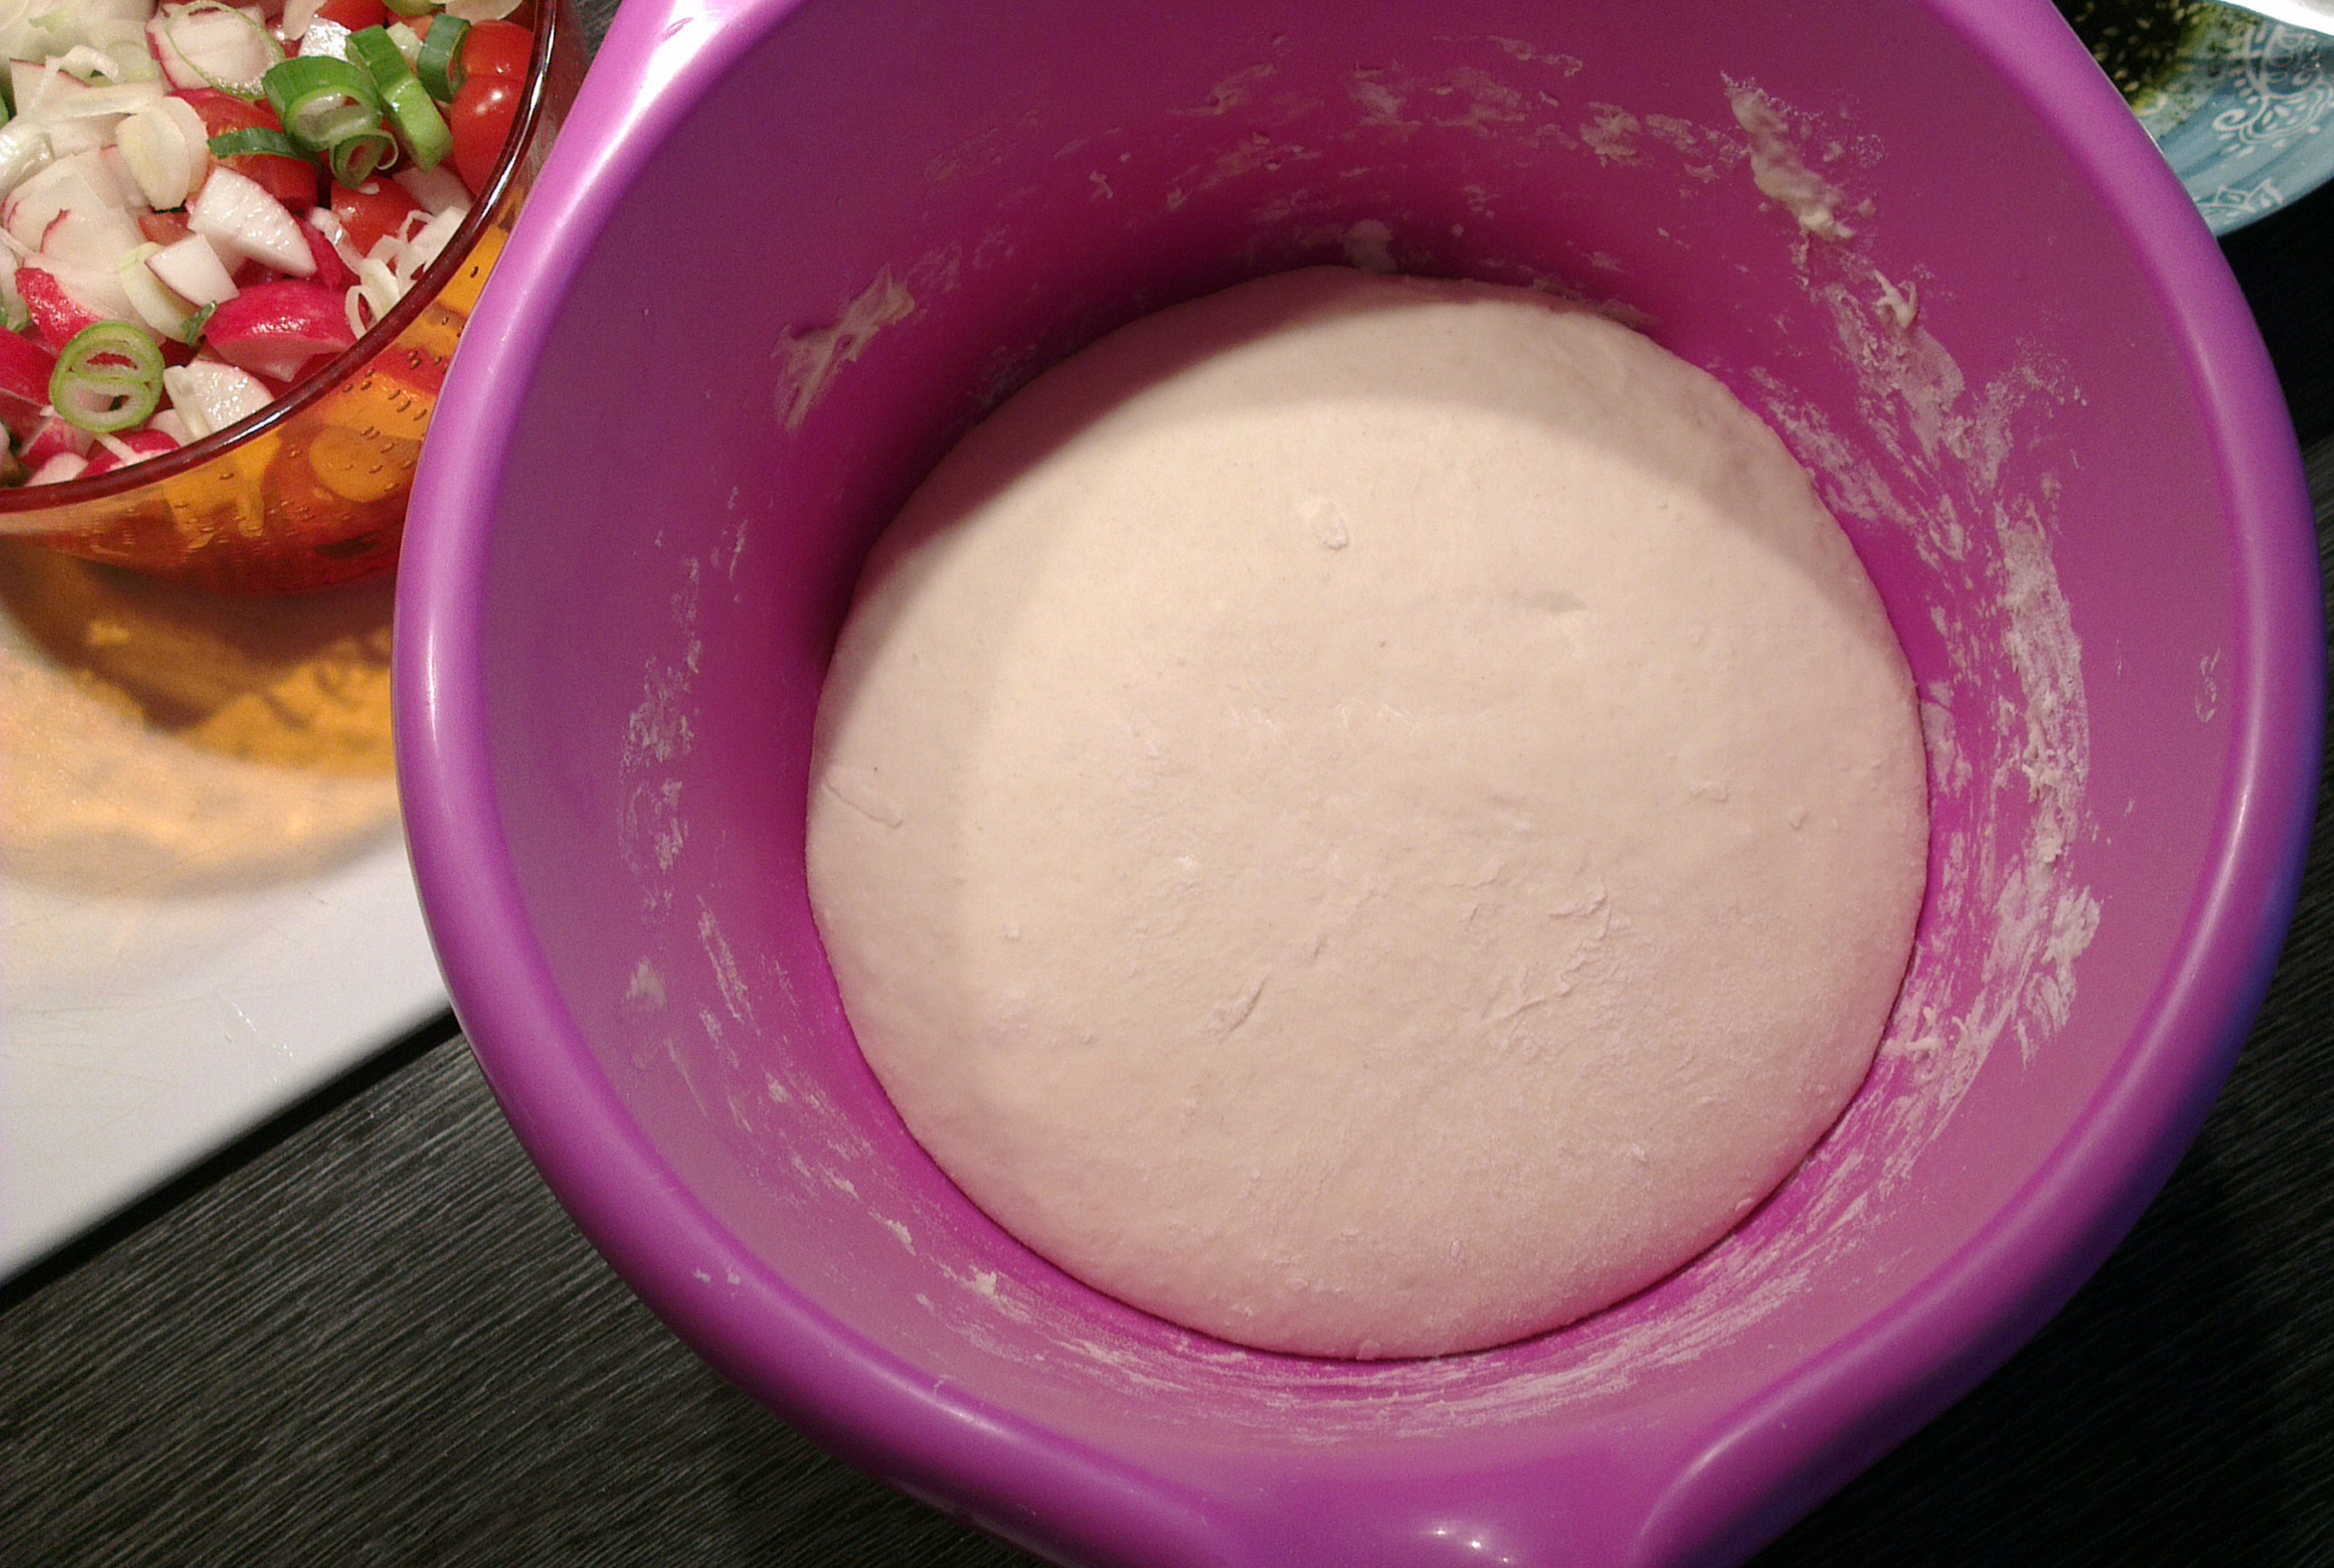
- Divide the dough into 8 equal balls (I always make 4 and freeze the rest – to be used in especially grey and cold Sundays…) –
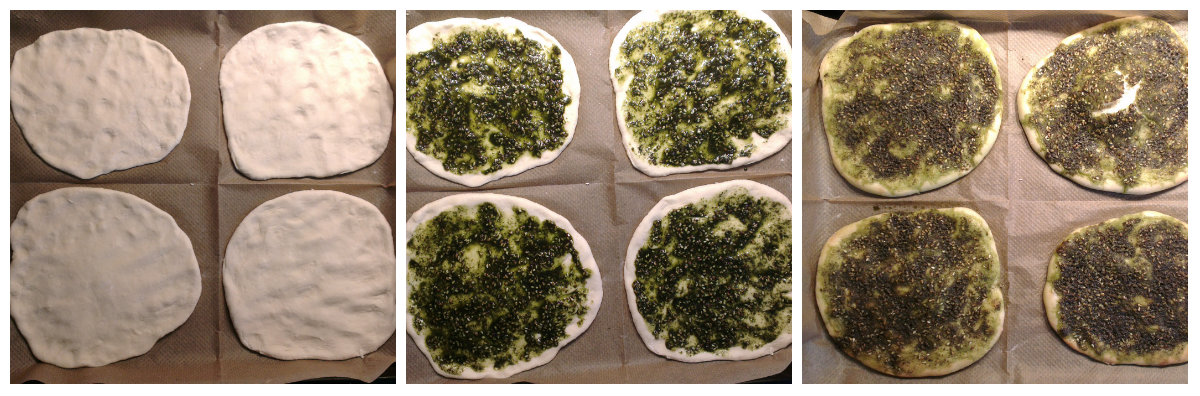
- Roll each ball to a pita shape – I do it with my hands, but a rolling pin is an option
- Let the pitas rise again, covered, for 10 more minutes
While you are waiting for the second rise:
- Preheat the oven on 200c/400f [meaning, do not do the second rise in the oven…]
- Make the Za’atar mix: ½ a spoonful of Za’atar for each pita + ½ a spoon of olive oil for each pita + 1 tbs lemon juice

[These quantities are completely up to you, if you want more use more, less, use less]
- Once the second rise is over, spread the Za’atar mix on the pitas, I use a spoon
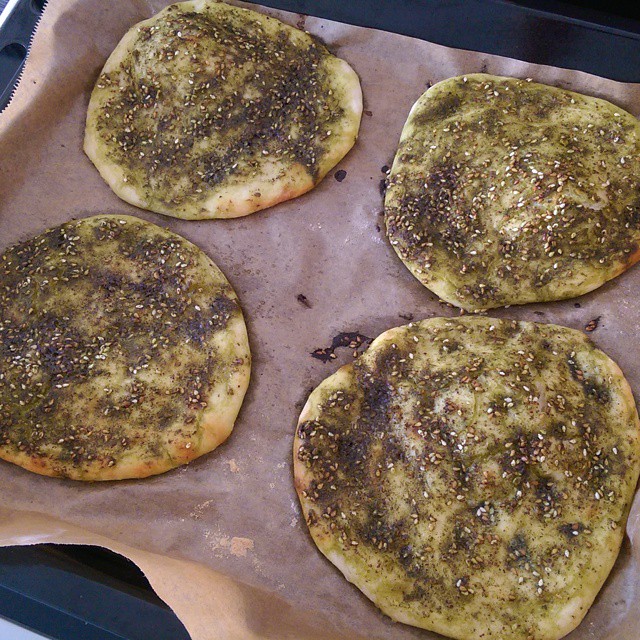
- Bake for 15-17 minutes on the highest oven “shelf” – if you have a baking stone it is also an option, but then you must bake one by one
- Check the bottom of the pitas from time to time and rotate the pan at least once
Pitas with Za’atar are super delicious when they are served directly from the oven with fresh tahini and a salad.

And as we say in Israel: Be-te-avon!
Bon appétit!

